
Steering Angle Sensor
Pairs well with
Same Day Shipping
When you order before 15:00 BST
Monday - Friday

Worldwide Shipping

Free Shipping Above £50

All Orders are Carbon-Neutral

Steering Angle Sensor
If you’ve got a question, you’re looking for information, or you just want to chat, please find a host of available help options below.
What is a Steering Angle Sensor?
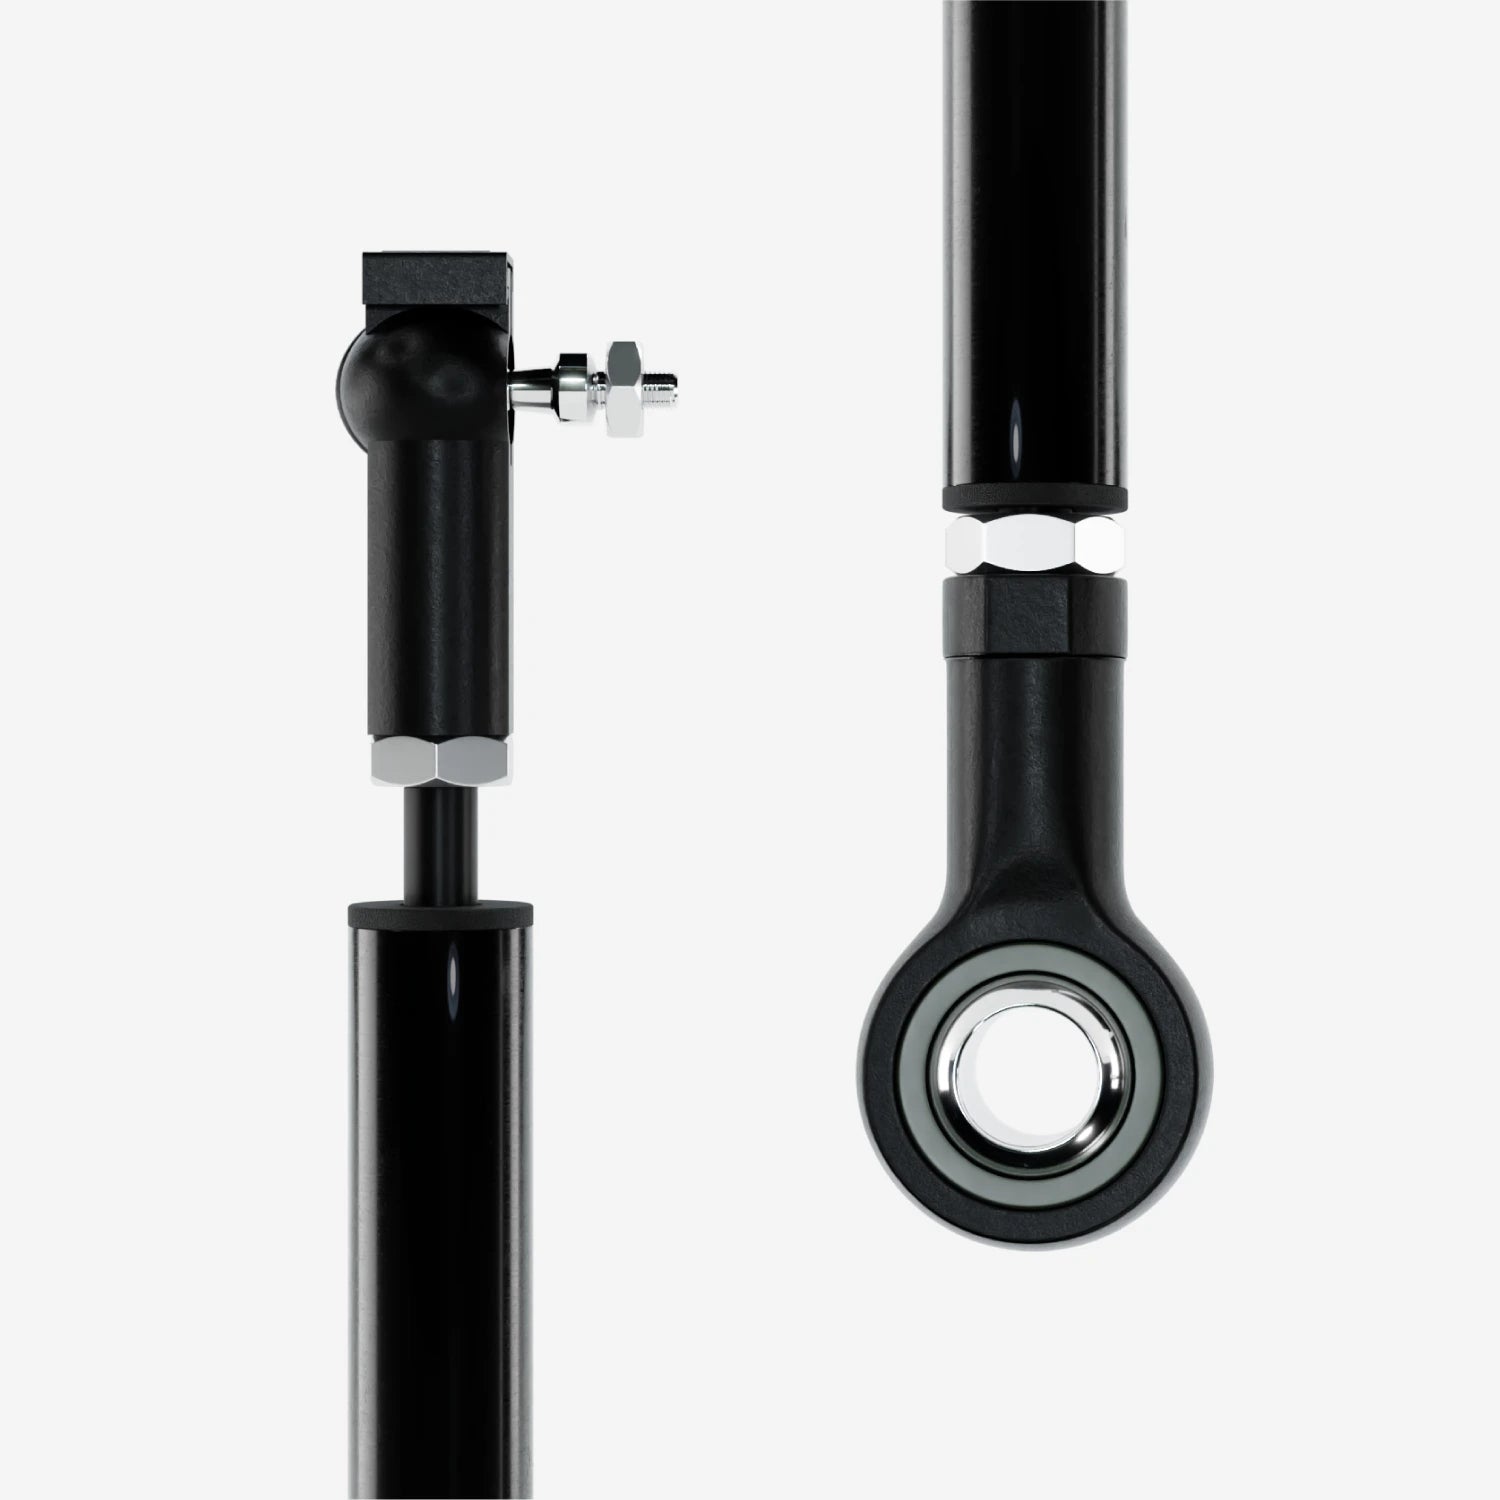
The Aim Steering Angle Sensor is a high-precision rotary potentiometer designed to measure the angular position of a vehicle's steering wheel. It's widely used by professional racing teams and enthusiasts to analyse and fine-tune steering inputs for improved performance on track.
Why Choose the Steering Angle Sensor
The steering angle sensor is required to measure the displacement between 2 points using a sensor (linear potentiometer) directly connected to the points of measurement. This potentiometer can be used to measure linear displacements like:
- Suspension and spring cushion compression or extension
- Steering column rotation measured through the rack displacement
- Wing or spoiler deflection at speed
- Shock and suspension travel
- Ride height
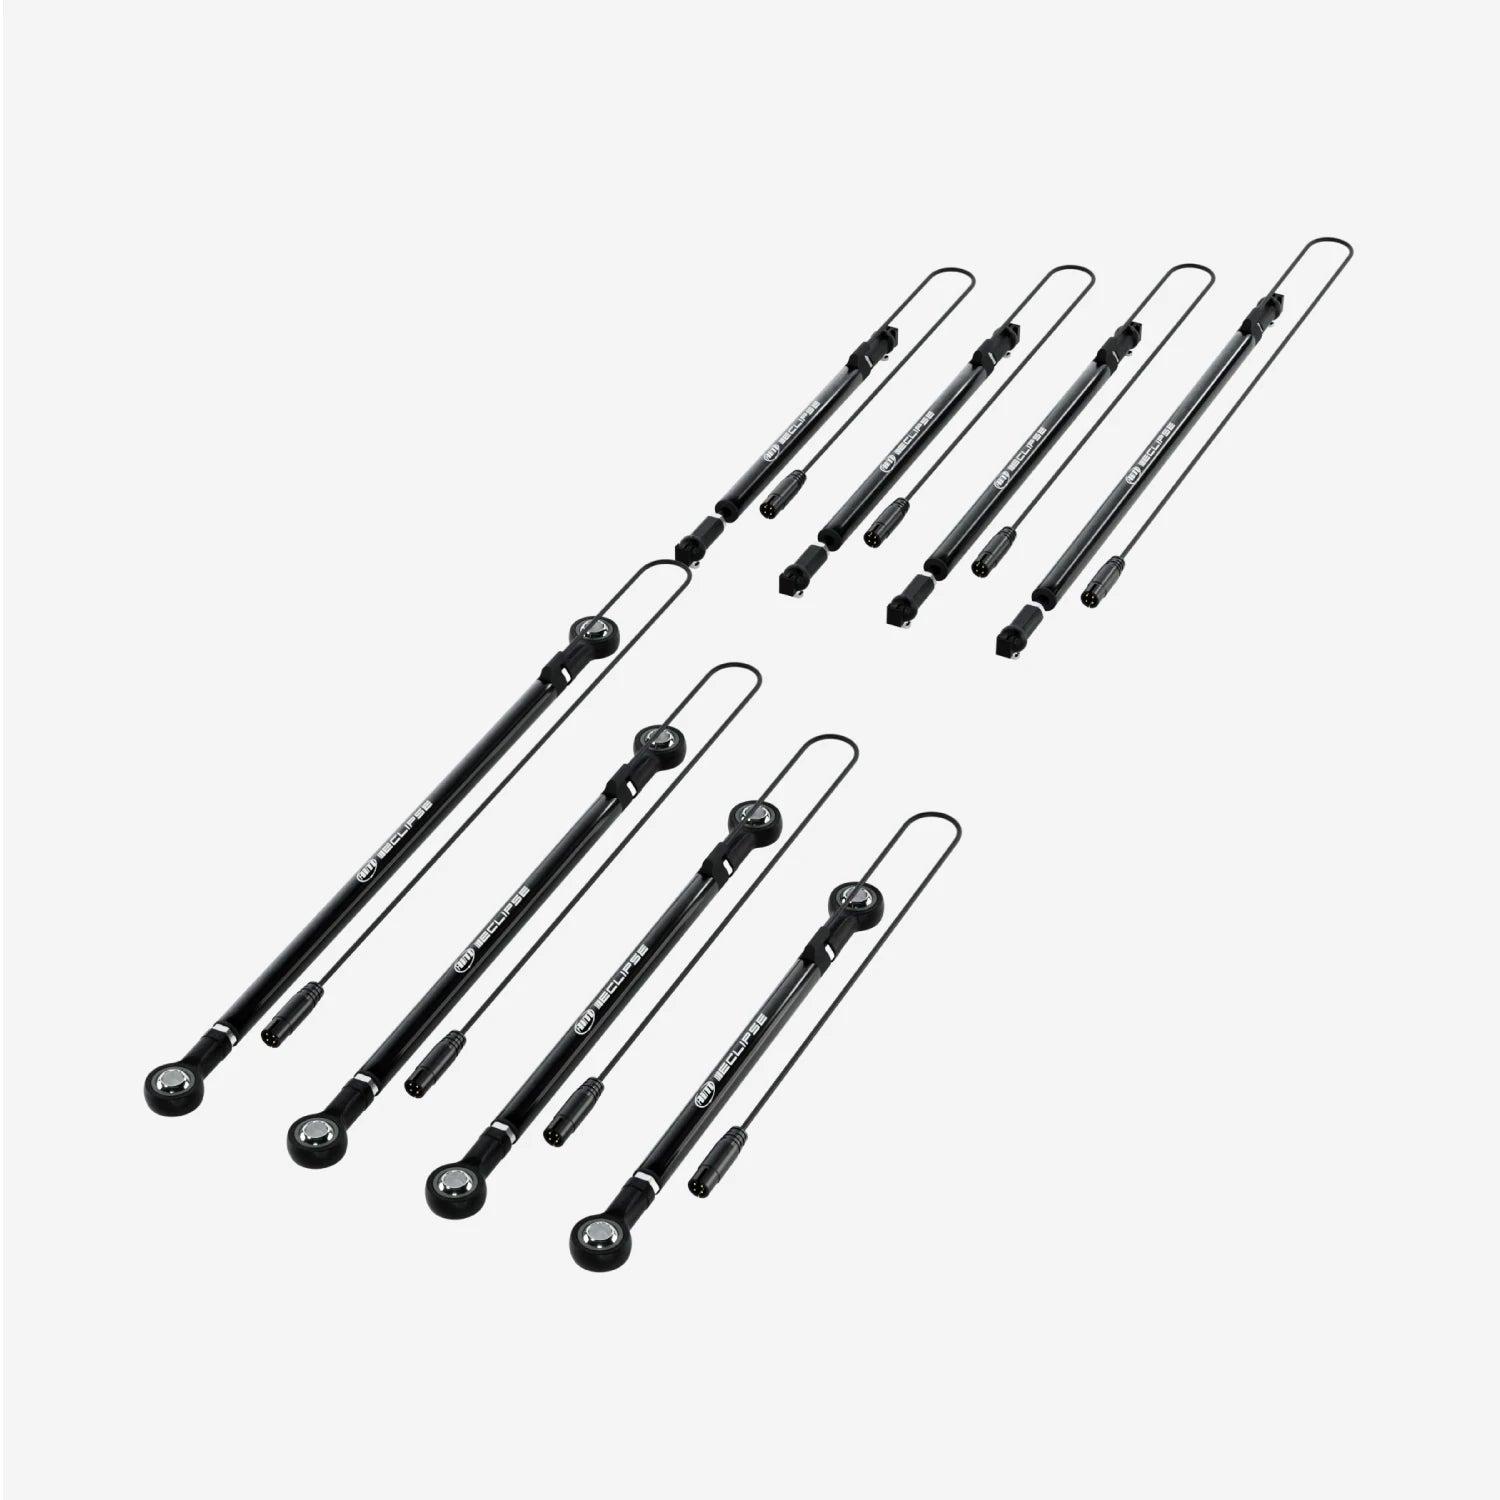
Connections & Compatibility
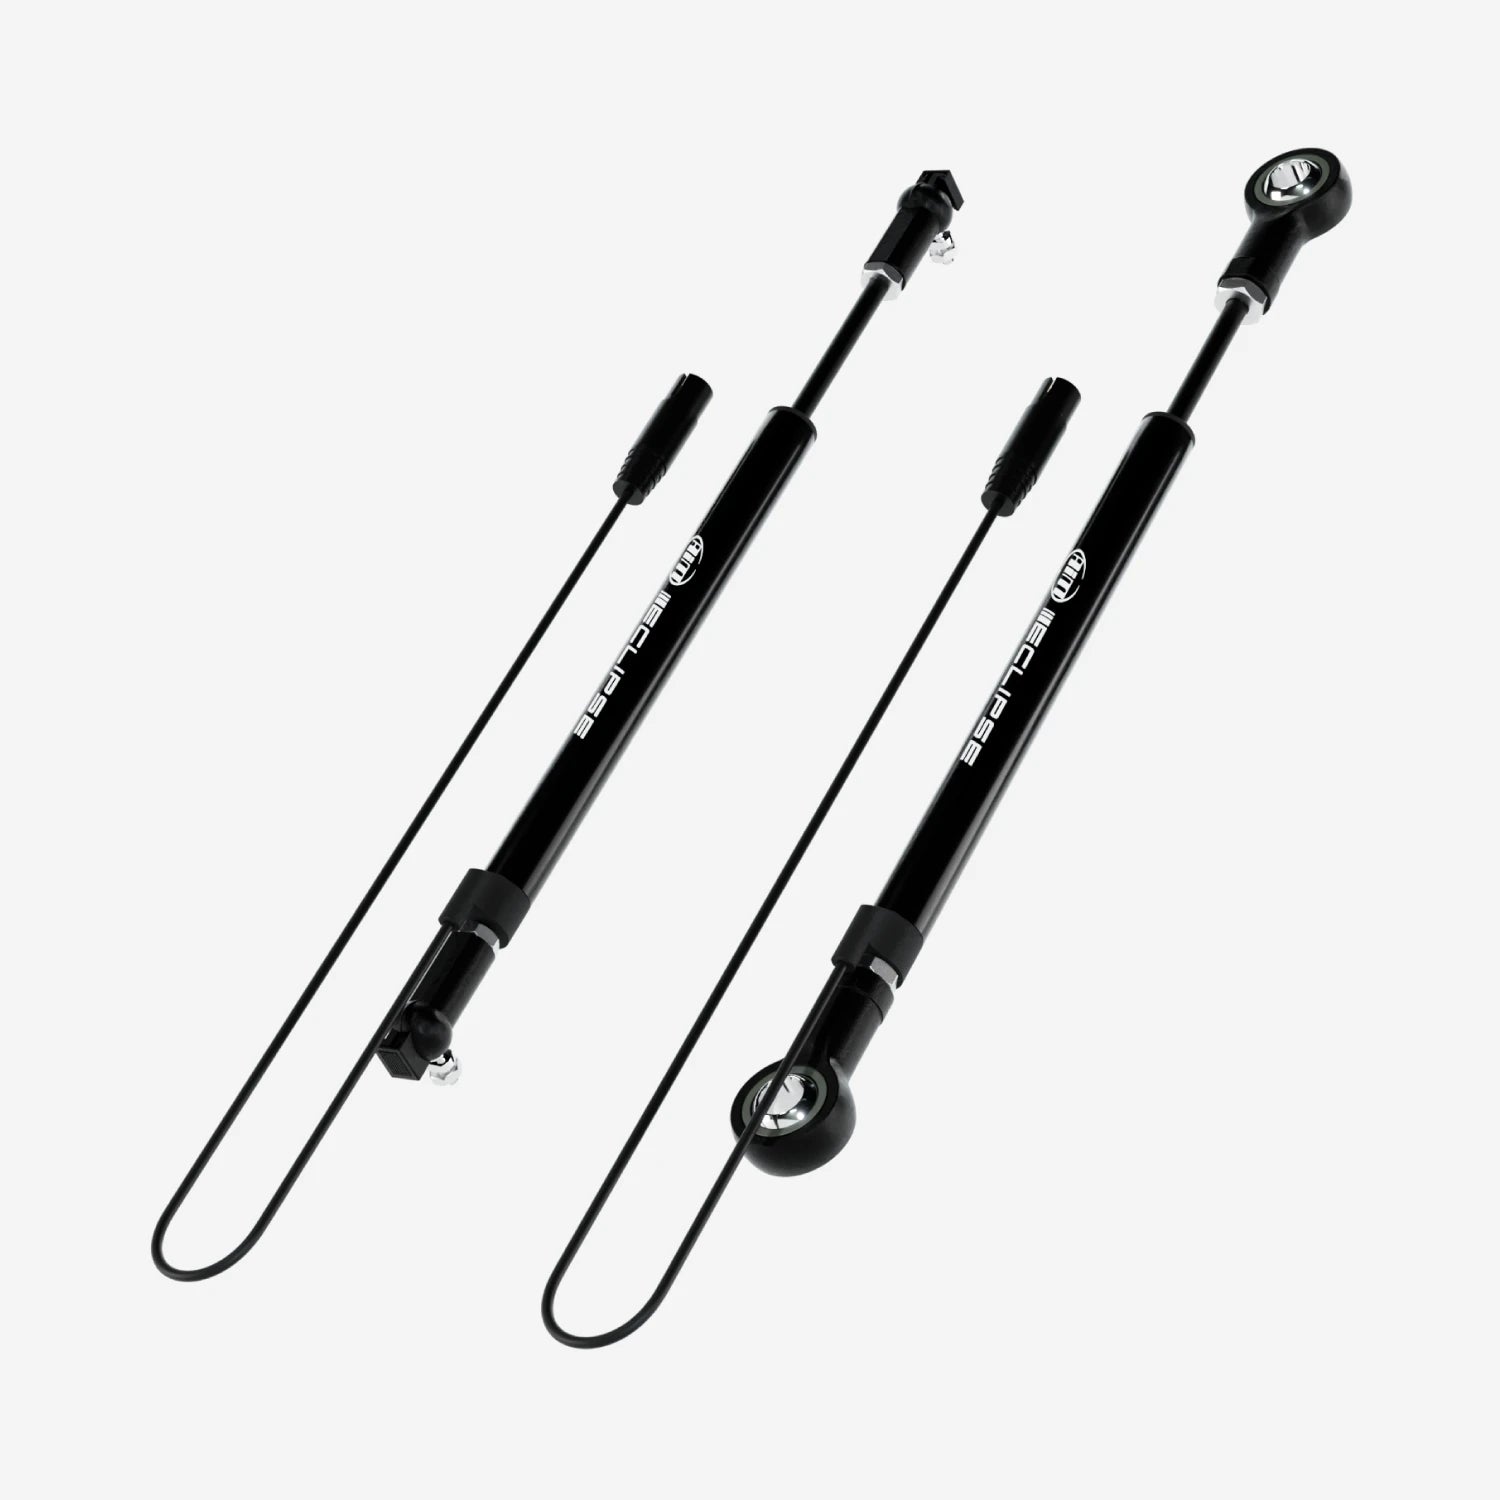
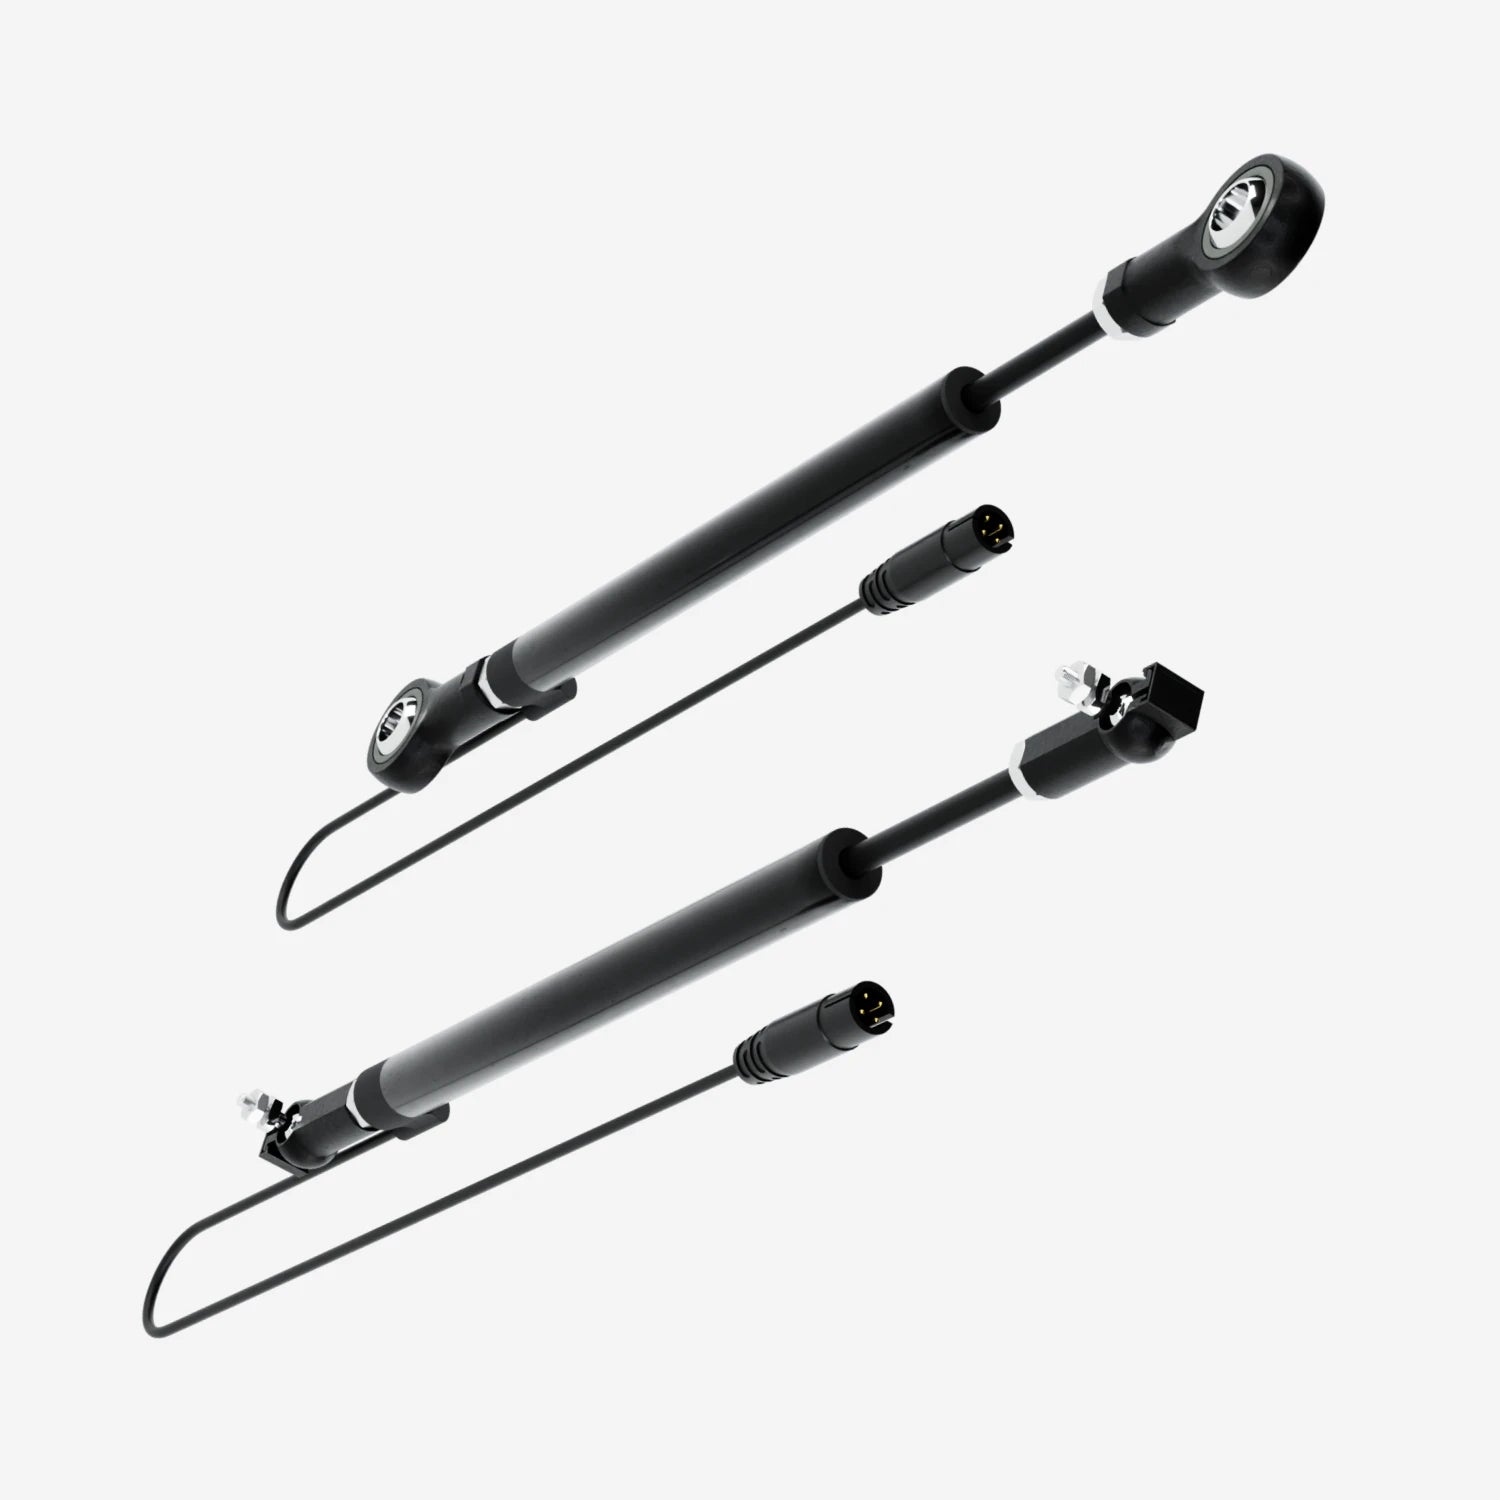
We offer a range of sizes for the potentiometer, for both the pop end and rose joint fittings: 50mm, 75mm, 100mm and 150mm. As a simple guide, most cars use 100mm on both the front and rear suspension.
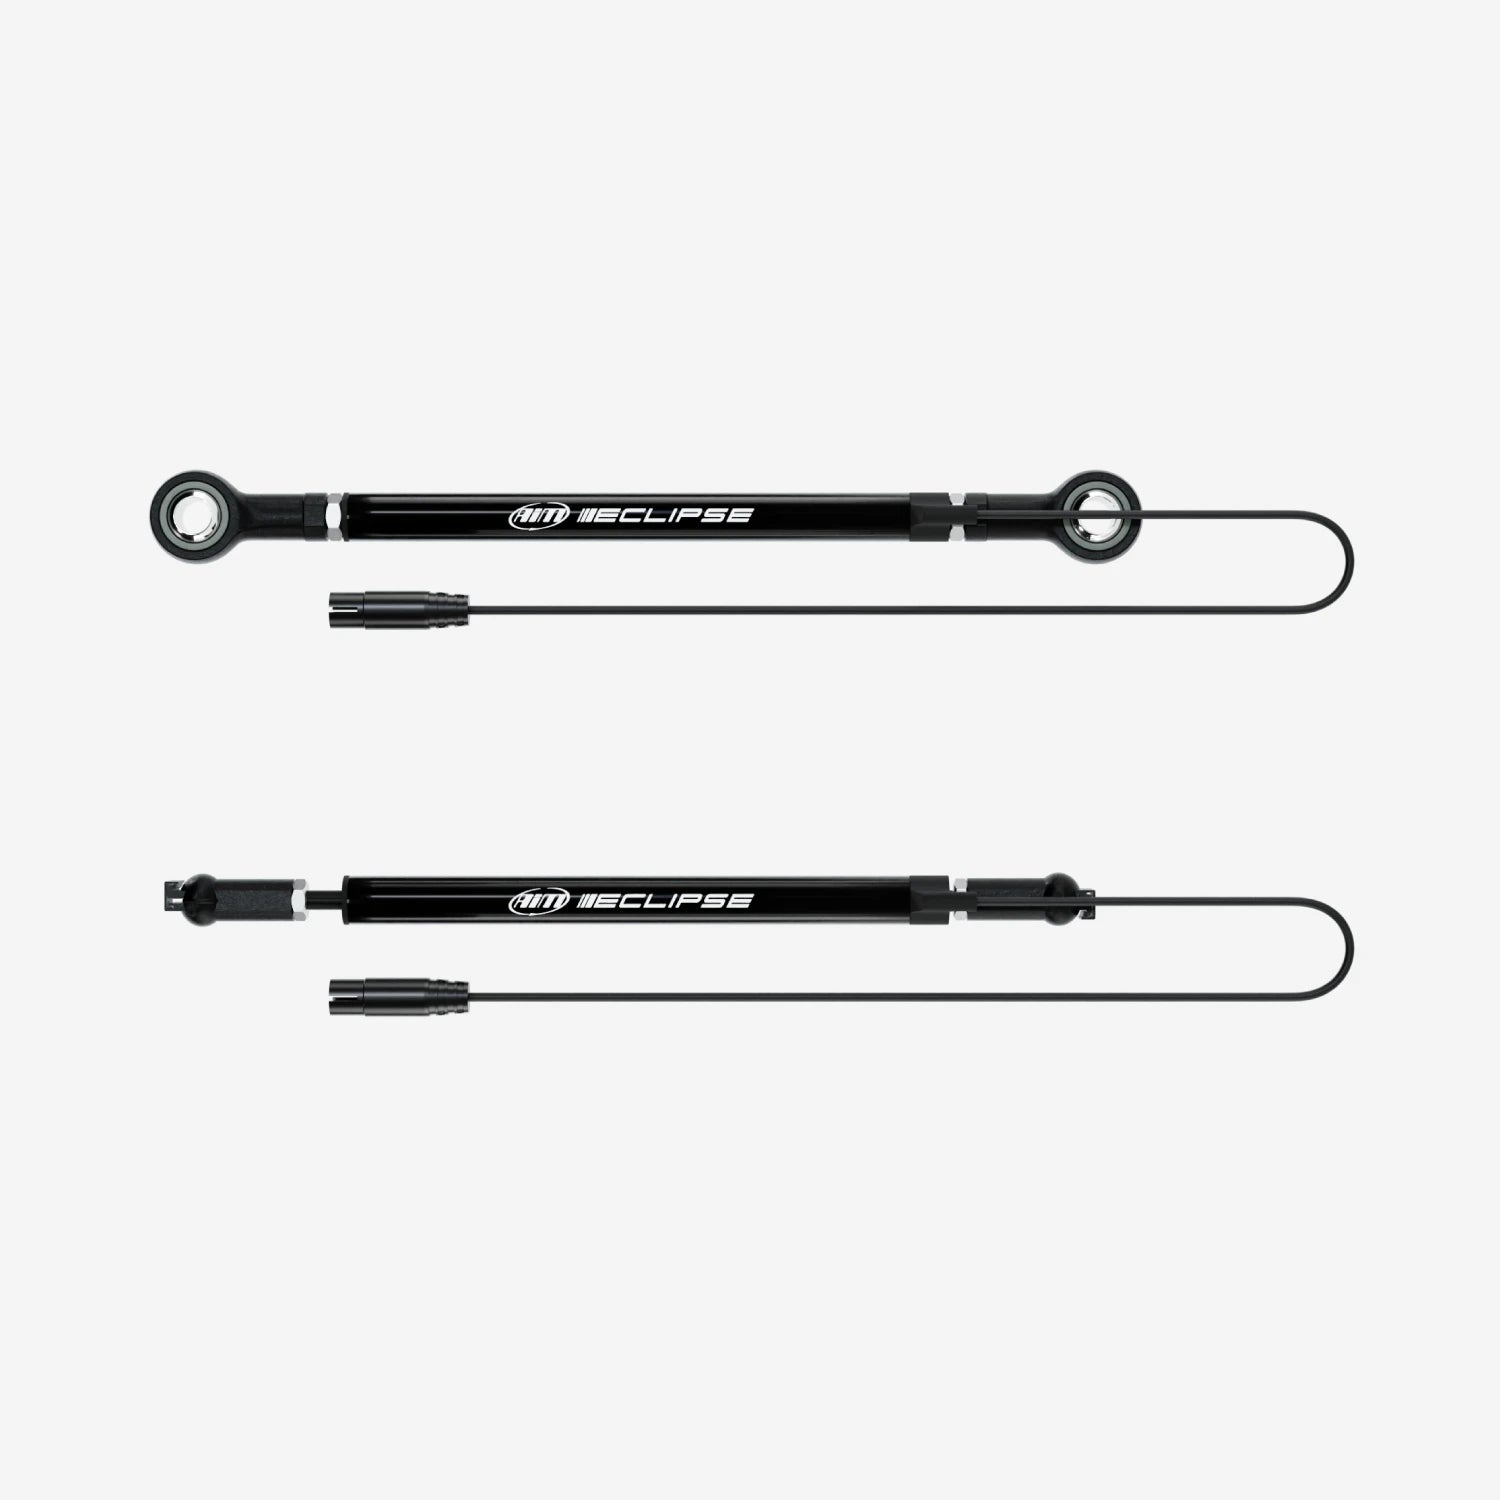
The steering angle sensor integrates seamlessly with Aim data loggers and dash displays, providing real-time feedback on steering behaviour. It comes with a 30cm cable as standard, but to extend the length or connect the steering angle sensor to an Aim device, please select the 719-719 patch lead option.
Please Note: If connecting to an EVO4S data logger or channel expansion, use a 712-719 patch lead. If you’re unsure which connectors you might need for your setup, please don’t hesitate to contact our support team.
Technical Information
Technical Specs
Included in the Box
Chosen Steering Angle Sensor
-

Free Aim Software

Downloads
